News
Building from Scratch! Tool List + Experience SharingBuilding from Scratch! Tool List + Experience Sharing
2024-12-06
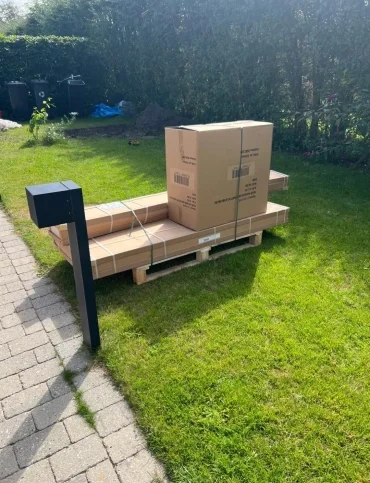
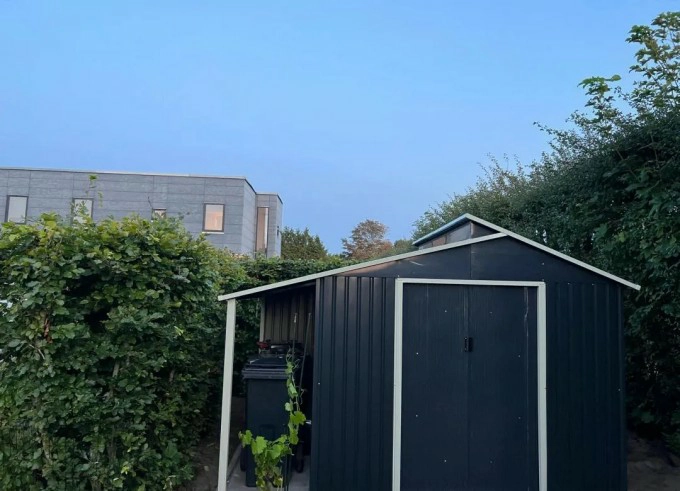
Building a New Tool Shed: A DIY Project
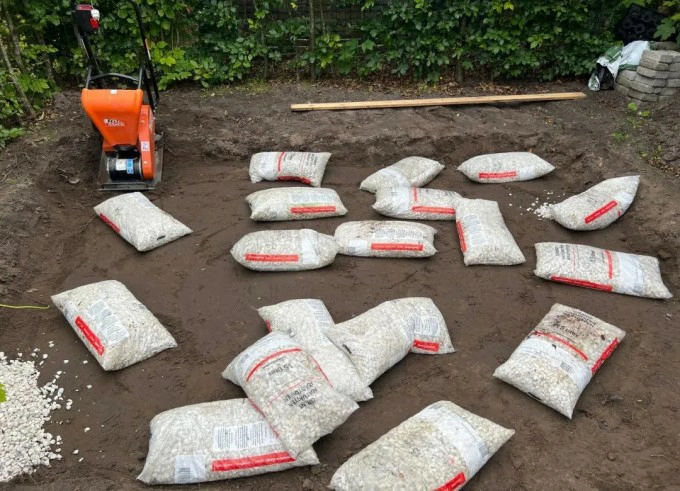
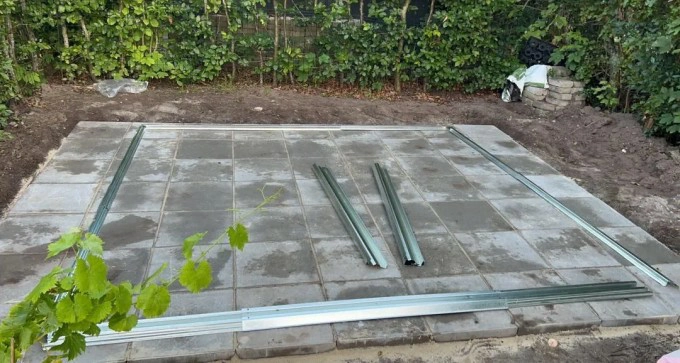
Our home tools and cargo bike were taking up too much space, and the original garage couldn't fit everything anymore. So, over the weekends, I dug the foundation, backfilled with gravel, leveled the ground, laid concrete bricks, and built a new tool shed. My Danish colleague said I'm becoming more and more like a Dane.
Key Takeaways
- Check local building regulations and apply for permits in advance. In Denmark, review the local plan (byggeri) and existing secondary building area to determine if a permit is needed. Unpermitted structures may require neighbor approval, affect property sales, or even lead to fines (~7500 DKK/week) if reported.
- Rent the right tools. If you're inexperienced, opt for longer rental periods to avoid rushing. A few extra hours or a day usually costs just a bit more, while late fees can be steep.
- Ask experienced staff for advice. For example, consult them on concrete nails, paving stones, or self-leveling compounds. (A staff member who used to work in construction gave me great tips on installing concrete nails!)
- Notify and maintain good relations with neighbors. Construction noise, equipment, and temporary obstructions can be disruptive. My neighbors were supportive, even checking in and complimenting our progress.
- Ensure precise measurements (right angles, edge distances, etc.). Poor foundational work can complicate later stages.
- Get a reliable helper.
- Prioritize safety.
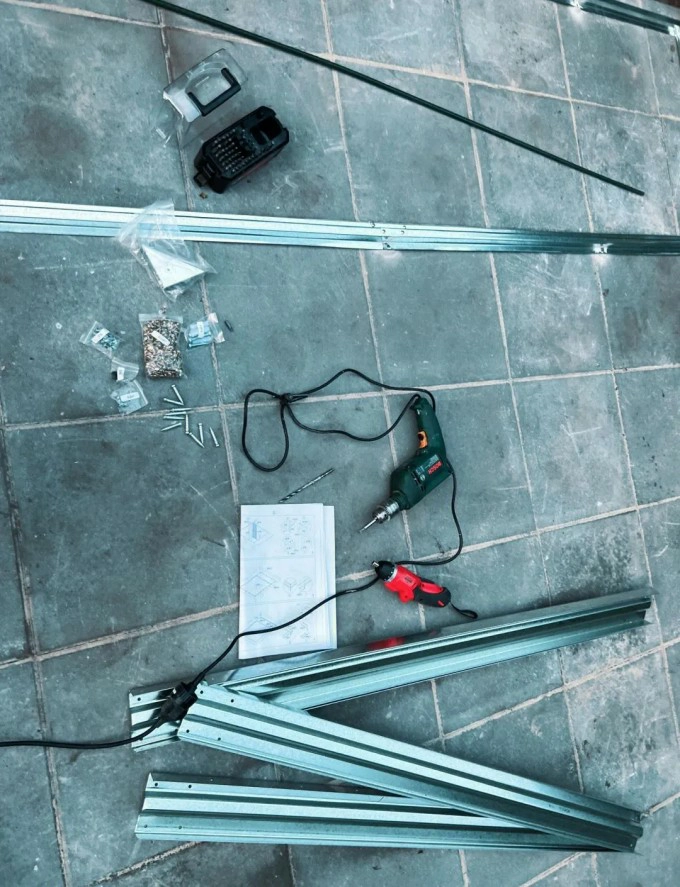
Tools & Materials List
- Shovel (or rent a mini excavator)
- Dump trailer (for soil removal, rentable)
- Sand, bricks, pavers, or concrete
- Wheelbarrow (for moving soil and materials)
- Levels (long, medium, short) – for sand leveling, brick alignment, and checking evenness
- Long measuring tape
- Plate compactor (rentable, for ground compaction)
- High-torque electric screwdriver
- Drill + concrete nails (drill bit should be 0.5mm smaller than the nail diameter; screw in manually after drilling)
- Carpenter's square + long wooden board (for measuring edges and guiding brick placement)
- Gloves (buy several pairs)
- Rope (for marking boundaries)
- Ladder
This project taught me a lot about construction and hands-on work, and the sense of accomplishment was incredibly rewarding. Hope these tips help you too!
Share this post:
You might also like:


Related News
2025-12-24
Building from Scratch! Tool List + Experience SharingBuildin
2025-06-03
My Amazing Family Summer Experience with the 7-in-1 Inflatab
2025-05-16
7 American-Tested Money Rules That Saved My Family During In
2024-12-06
The Benefits of Buying from Chinese Cross-Border E-Commerce:
2024-12-06